


Making it batter: a guide to making pancake art
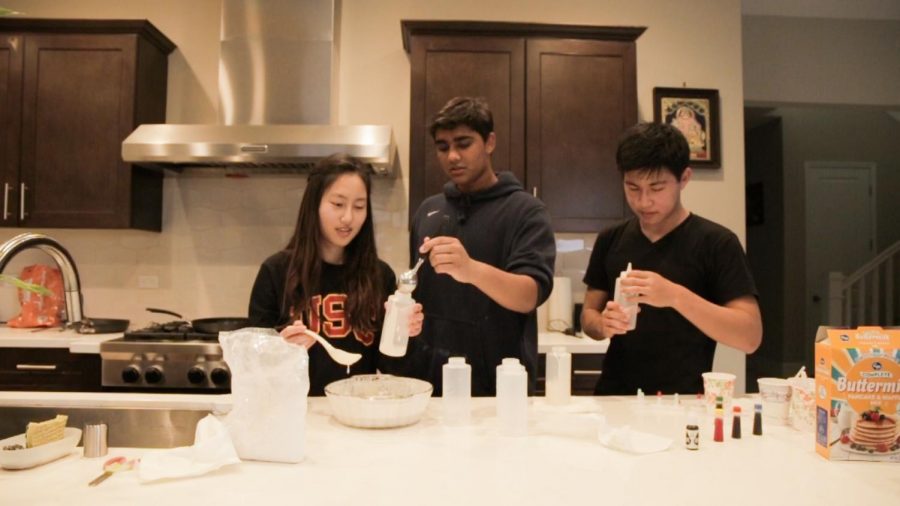
(FLOUR)ISHING ARTISTS: Juniors Erin Kim, Varun Vishnubhotla, and Anlon Zhu (left to right) fill squirt bottles with colored pancake batter.
February 13, 2020
Pinterest is a social hub of creativity, quirky art and impressive craftsmanship. For amateur arts-andcrafters, Pinterest is the birthplace of the harsh realization that reality is not exactly the same as expectation. Never fear, The Howler is here to figure out the ‘to-dos” and “not-todos” for you as we attempt Pinterest pancake art—a balancing act of basic cooking and drawing—saving your sanity and very possibly your souls.
A definite to-do is preparation. To our chagrin, science pre-labs indeed serve a purpose, and so does setting your mise en place. Understanding our ingredients, tools and procedures allowed us to go through the project a lot faster. For ingredients, you’ll need pancake mix, food coloring, vegetable oil and water. For tools, you’ll need a whisk, a mixing bowl, a pitcher, a pan and several squeeze bottles (one for each batter color). The pitcher is important. Pouring the pancake batter into the pitcher makes it far easier to pour it into the little neck of the squeeze bottles rather than scooping in the batter with a ladle. Unfortunately for us, this observation was not made until halfway through the bottle filling process. Then, mix in drops of food coloring into each bottle. Remember, the colors tend to darken as the pancakes cook, so tint them lightly.

Something we did right— although accidentally—was drawing without the heat on. Without heat, even the slowest of artists can squeeze out the colored mix without burning the pancake. Trace the outline of your pancake art without heat first; this will maintain the shape of your pancake. Then, turn on the heat and fill in the outline. Drawing with the heat on is how pancake art is typically done, but it’s certainly a race against time. Frankly, anything that makes a pretty product is a valid to-do, even if that means using safety scissors to cut your pancake into its most desirable shape. What an idealized world we live in.
Okay, so that’s what to do. What shouldn’t you do? For one, don’t rush. While we were whisking the pancake batter, one Howler member felt inclined to amp up the speed. After feeling quite accomplished with his arm power, he was disappointed to see batter stains all over his Nike hoodie. Those white stains did not look good. Practicing patience while cooking is also important. We didn’t know that pancakes take a couple of minutes to set, so our first few attempts fell apart into a colorful mix of undercooked batter.
You also should not touch a 350 degree Fahrenheit pan with the nozzle of the squeeze bottle because the plastic will melt the hole shut. One Howler member thought that this would be a bright idea, but we ended up having to switch nozzles every time we wanted to use a new color. Save yourself some trouble. Don’t do it.
Finally, don’t be reckless while working with fire. We left the flame open on a pan coated with oil for nearly half an hour, and it took us that whole half hour to realize that the burning smell was coming from the pan. Yes, oil can (and will) burn. Moreover, while scrubbing away at that same pan, one Howler member with a particularly voluptuous rear end managed to turn the stove’s knob 15 degrees clockwise, which ignited a miniature flame and nearly burned his finger. Keep in mind that these stove knobs are designed for an adult hand’s dexterity.
Clearly, there’s a lot to be done and a lot more not to be done when creating pancake art. Having gone through all this trouble, The Howler recommends that you try pancake art for yourself! Or if you’re feeling adventurous, try another Pinterest project and experience the fun of being clueless. Bon appétit!